Fixtures and Jigs for Manufacturing Teams

3D-printed fixtures and jigs deliver 70-90% cost savings over machined tooling while cutting lead times from weeks to days. For Charlotte, NC area manufacturing teams, custom 3D-printed tooling is one of the fastest ways to improve production efficiency without a major capital investment.
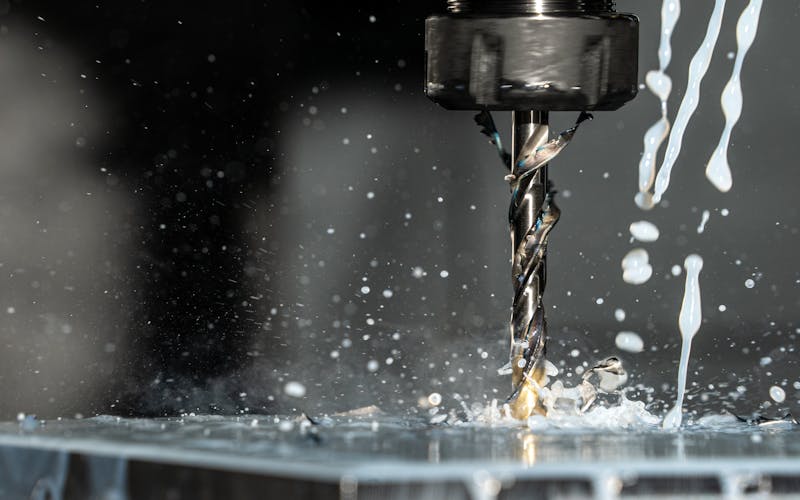
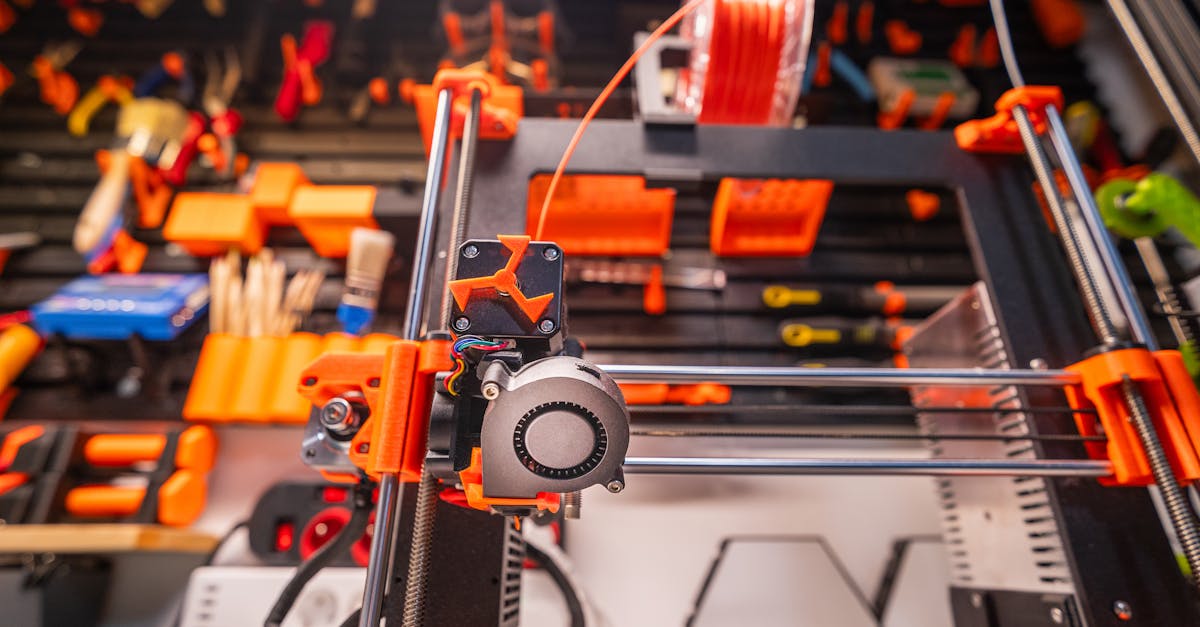
Manufacturing teams know that the right tooling can make or break a production line. Fixtures hold parts in place for machining, assembly, or inspection. Jigs guide tools and ensure repeatability. Traditionally, these are machined from aluminum or steel, a process that takes weeks and costs hundreds or thousands of dollars per piece.
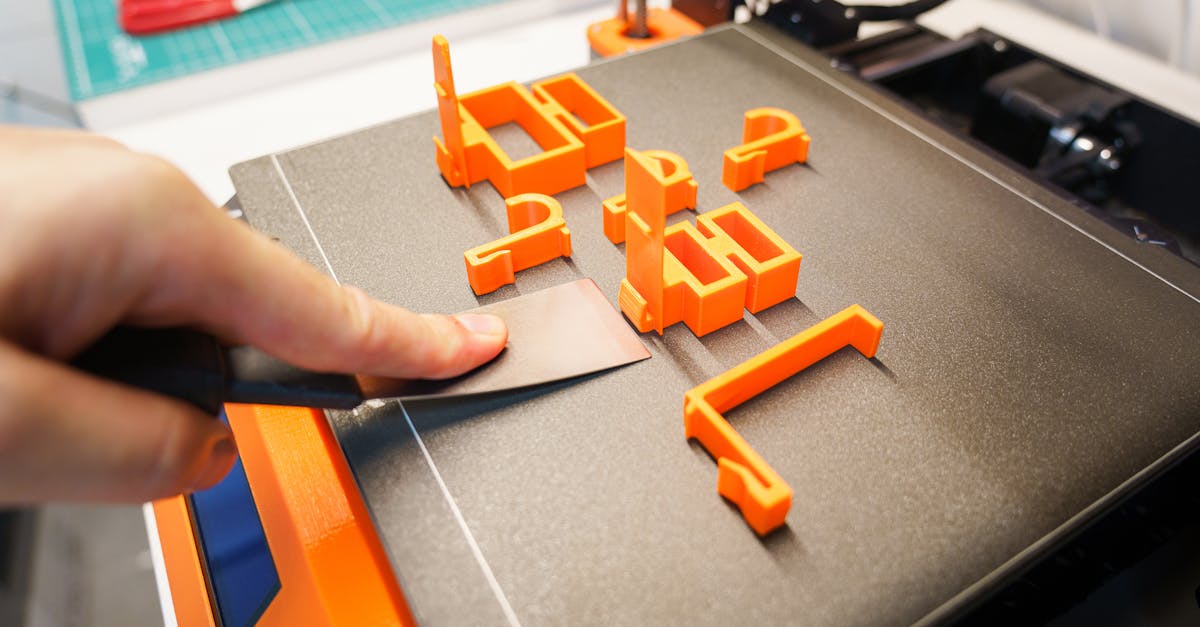
3D printing changes the equation entirely.
Why 3D-Printed Tooling Makes Sense
Custom fixtures and jigs are one of the highest-ROI applications for 3D printing in manufacturing. Here’s why:
Speed. A fixture that takes 2-3 weeks to machine can be designed and printed in 2-3 days. When a production line is waiting on tooling, that time savings translates directly to revenue. For Charlotte, North Carolina manufacturers running multiple shifts, every day of downtime costs thousands.
Cost. 3D-printed tooling typically costs 70-90% less than machined equivalents. This makes it economical to create specialized fixtures for short runs or one-off operations that wouldn’t justify traditional tooling costs.
Iteration. When a fixture doesn’t quite fit, you can modify the design and reprint it the same day. Try doing that with a machined part. The ability to iterate quickly means your tooling is optimized for the actual workflow, not just the theoretical one.
Customization. Every workstation, every operator, and every product variant can have purpose-built tooling. No more “making it work” with generic fixtures.
ROI Examples from Charlotte Manufacturing
Example 1: Assembly Fixture for Electronics Manufacturer
A Lake Norman, NC electronics manufacturer was using hand-positioned components during PCB assembly, leading to a 3% defect rate and slow cycle times. We designed and printed a custom nest fixture that held all components in position during soldering.
- Machined fixture quote: $1,200 per fixture, 3-week lead time
- 3D-printed fixture cost: $85 per fixture, 3-day lead time
- Result: Defect rate dropped to 0.3%, cycle time reduced by 22%
- ROI payback: Less than one week of production
Example 2: Inspection Jig for Automotive Supplier
A Charlotte-area automotive parts supplier needed go/no-go gauges for incoming material inspection. Traditional machined gauges were $400-600 each, and they needed 12 different configurations.
- Traditional cost: $5,400-7,200 for the full set
- 3D-printed cost: $540 for the full set (PETG, ±0.15mm tolerance)
- Delivery: All 12 gauges delivered in 5 business days
- Savings: Over $5,000, with the ability to reprint or modify any gauge for under $50
Example 3: Cable Routing Guide for Production Line
A Mooresville manufacturer’s wiring harness assembly was taking 45 minutes per unit because operators had to route cables by hand using printed instructions. We printed custom cable routing fixtures that snapped onto the work surface.
- Cost per fixture: $35
- Result: Assembly time reduced to 28 minutes per unit (38% improvement)
- Annual labor savings: Over $18,000 per assembly station
Common Applications
We work with manufacturing teams across the Charlotte area on a range of tooling applications:
- Assembly fixtures that hold components in the correct orientation for bonding, welding, or fastening
- Inspection jigs that verify critical dimensions during quality checks
- End-of-arm tooling for robotic pick-and-place operations
- Cable routing guides that organize wiring harnesses during assembly
- Go/no-go gauges for quick pass/fail dimensional checks
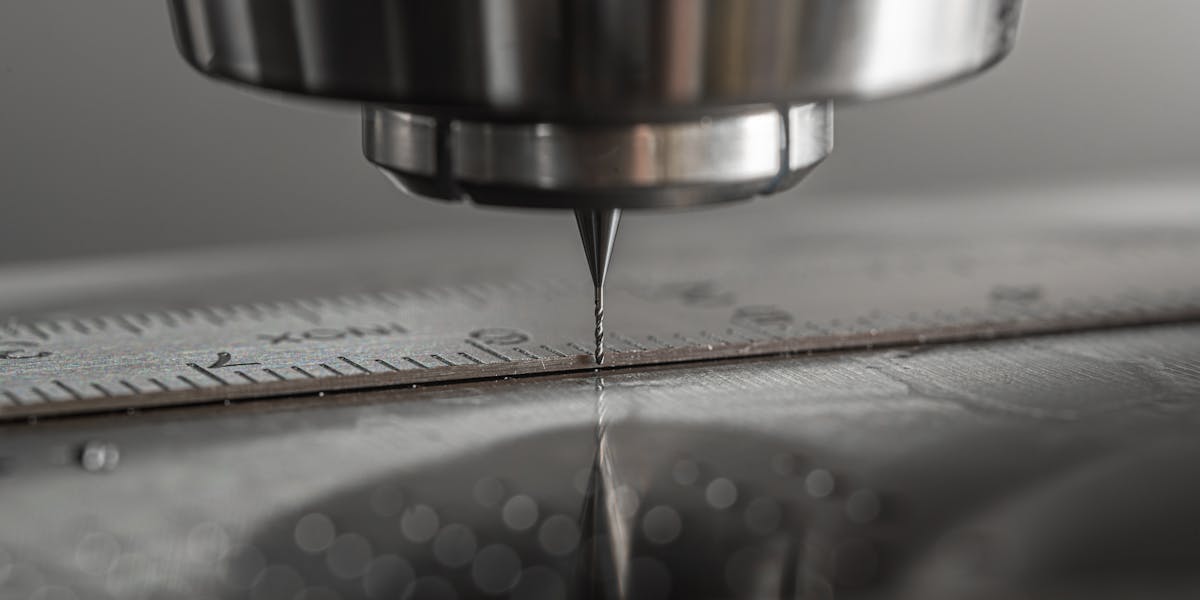
- Drill guides that ensure hole placement accuracy without CNC programming
- Alignment fixtures for multi-part assemblies
- Masking fixtures for painting, coating, or selective plating operations
Specific Fixture Types and When to Use Them
Nest Fixtures
Hold oddly-shaped parts securely for assembly or inspection. Printed with a precise negative cavity that cradles the part. Best material: PETG for durability, PLA for short-run use.
Alignment Jigs
Ensure multiple components are positioned correctly relative to each other during assembly. Critical for operations where manual positioning introduces variability. Best material: ABS for dimensional stability.
Go/No-Go Gauges
Simple pass/fail inspection tools. A hole gauge checks that a shaft fits through one end (go) but not the other (no-go). Best material: Nylon for wear resistance if used thousands of times.
Protective Work-Holding
Soft-jaw inserts for vises, padded clamps, or conforming supports that hold delicate parts without scratching or deforming them. Best material: TPU for flexibility, PETG for semi-rigid applications.
Materials for Tooling
For most fixture and jig applications, we recommend PETG or ABS. Both offer good dimensional stability, mechanical strength, and resistance to oils and chemicals found on manufacturing floors. For higher-temperature applications, nylon or specialty materials may be more appropriate.
| Application | Recommended Material | Why |
|---|---|---|
| General fixtures | PETG | Durable, chemical-resistant, cost-effective |
| High-temp environments | ABS/ASA | Handles sustained heat above 80°C |
| High-wear tooling | Nylon | Self-lubricating, exceptional wear life |
| Soft-touch holding | TPU | Protects delicate surfaces from scratching |
| Short-run/disposable | PLA | Lowest cost, fastest production |
Getting Started with 3D-Printed Tooling
If your manufacturing team is spending too much time and money on custom tooling, let’s talk. We can often deliver a functional fixture within a week at a fraction of the cost of traditional machining.
Here’s how to get started:
- Identify your pain point: Which workstation has the most quality issues, slowest cycle time, or highest operator frustration?
- Send us the details: Part drawings, photos of the current setup, and a description of what the fixture needs to do. Submit a quote request.
- We’ll design and prototype: Our team creates the fixture design, prints a prototype, and works with you to validate the fit.
- Iterate and deploy: After testing, we make any adjustments and print your production fixtures.
For Charlotte and Lake Norman, NC manufacturers, we offer on-site consultations and delivery to evaluate your production line and identify the highest-impact opportunities for 3D-printed tooling. Contact us to schedule a visit, or learn more about reducing risk with local manufacturing.
Related Articles
3D Printing Tolerances: What to Expect
Understanding dimensional tolerances in FDM 3D printing helps set realistic expectations for your parts.

Batch Size Economics: The 3D Printing Advantage
Learn why 3D printing dominates at 10-500 units and how to calculate your optimal production method.
Tooling Changeover Costs Kill Profits
Traditional tooling changes drain budgets. See how FDM printing slashes modification costs by 90%.