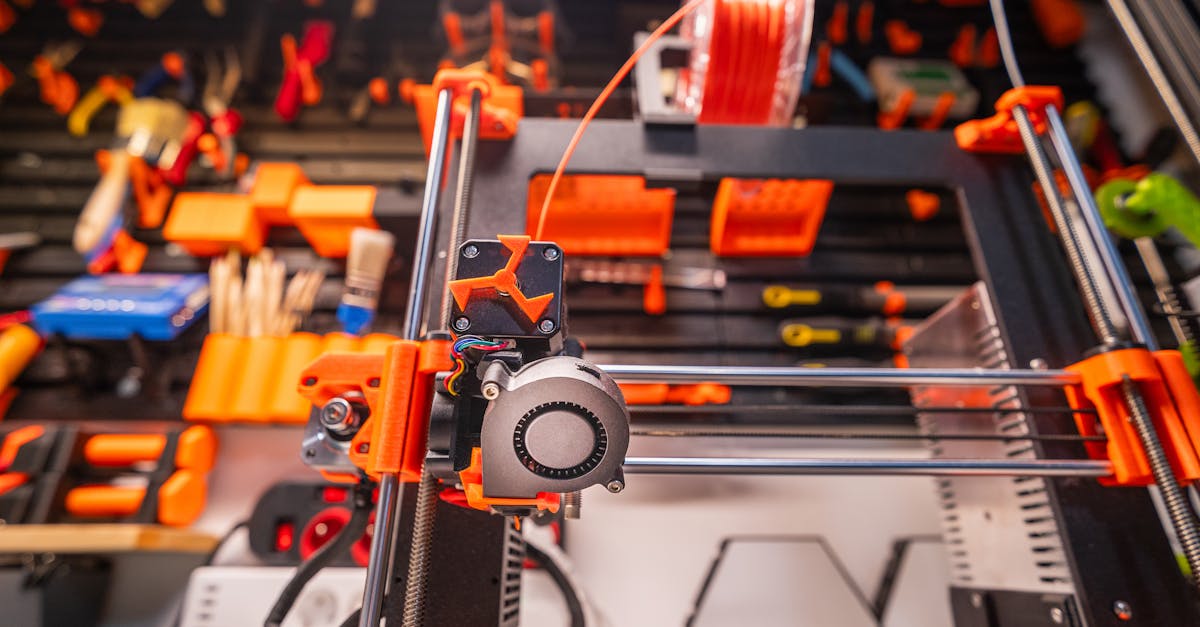
ROI of 3D-Printed Manufacturing Tooling

Manufacturing teams know that tooling is both essential and expensive. Every assembly fixture, inspection gauge, and end-of-arm tool on your production floor exists because someone justified the cost. But what if that cost was 70-90% lower and the lead time was days instead of weeks?
That’s the proposition of 3D-printed manufacturing tooling, and Charlotte, NC area shops are putting real numbers behind it. This post breaks down actual ROI calculations, not theory, but the math that manufacturing managers use to make purchasing decisions.
The Cost Comparison: Machined vs. 3D Printed
These figures are based on typical projects we’ve produced for manufacturing tooling and fixtures clients in the Charlotte and Lake Norman, NC area:
Assembly Fixture (medium-complexity nest)
| Factor | CNC Machined (Aluminum) | 3D Printed (PETG/ABS) |
|---|---|---|
| Material + labor | $500-$900 | $50-$100 |
| Lead time | 2-3 weeks | 2-3 days |
| Savings | - | 80-90% |
Go/No-Go Gauge
| Factor | CNC Machined (Steel) | 3D Printed (Nylon) |
|---|---|---|
| Material + labor | $250-$450 | $30-$60 |
| Lead time | 1-2 weeks | 1-2 days |
| Savings | - | 85-90% |
End-of-Arm Tooling (EOAT)
| Factor | CNC Machined (Aluminum) | 3D Printed (CF-Nylon) |
|---|---|---|
| Material + labor | $700-$1,400 | $75-$150 |
| Lead time | 3-4 weeks | 3-5 days |
| Savings | - | 85-90% |
Beyond the Sticker Price: Full ROI Calculation
A fixture’s value isn’t just what it costs. It’s what it saves.
Direct Cost Savings
A Charlotte, NC electronics manufacturer needs 8 assembly fixtures for a new product line:
- Machined: 8 x $700 = $5,600
- 3D printed: 8 x $85 = $680
- Direct savings: $4,920
Downtime Reduction
A production line generates $3,000/day. Waiting for machined tooling means 14 days of delay. 3D-printed tooling arrives in 3 days.
- Time saved: 11 days = $33,000 in avoided lost revenue
This is often the largest ROI component, and the one most companies underestimate.
Quality Improvement
A Lake Norman, NC manufacturer’s assembly defect rate drops from 4% to 0.5% after implementing a positioning fixture. At 500 units per week and $25 per defect:
- Before: $500/week in defects
- After: $62.50/week
- Annual quality savings: $22,750
Against a fixture cost of $85, the payback period is measured in hours.
Iteration Value
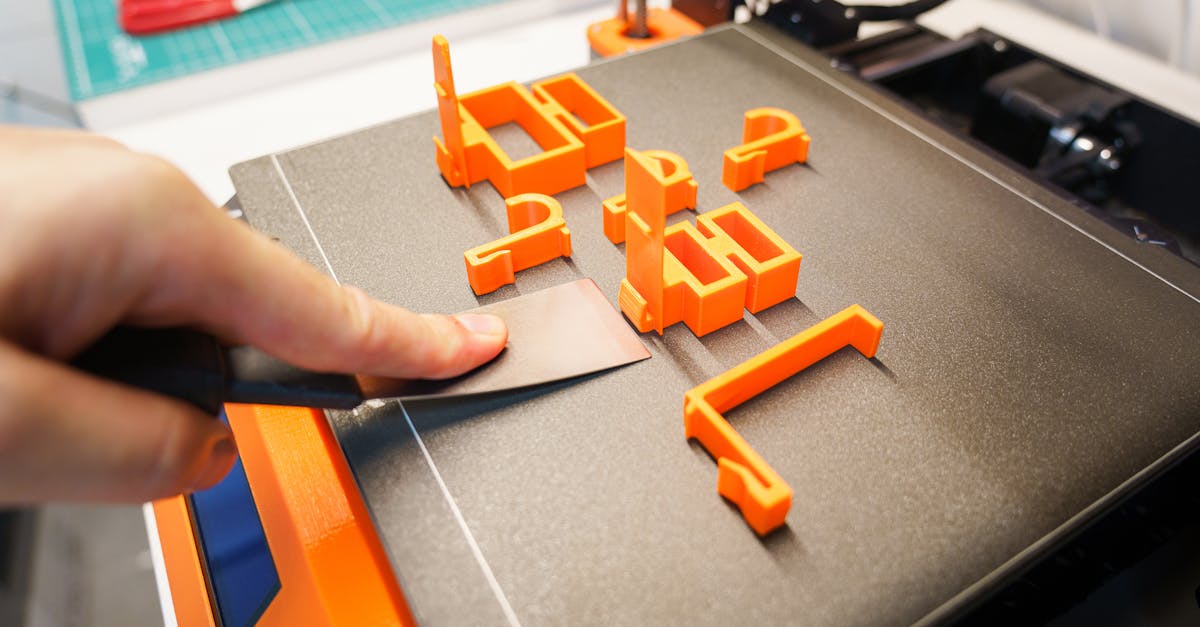
When a fixture doesn’t work perfectly, modifying and reprinting costs $30-$80 and takes a day. Modifying a machined fixture costs $200-$500 and takes 1-2 weeks. The practical effect is that 3D-printed tooling gets iterated and improved, while machined tooling gets tolerated.
Common Applications and Their ROI Profiles
Assembly fixtures. Hold components in position during bonding, welding, or soldering. A well-designed fixture cuts assembly time by 20-40% while virtually eliminating positioning errors. The ROI comes primarily from reduced defect rates and faster cycle times, making these some of the highest-value tooling investments on any production floor.
Inspection gauges. Go/no-go gauges and inspection fixtures ensure parts meet dimensional specs. For Charlotte-area automotive suppliers subject to PPAP audits, dedicated gauges for every critical dimension are often a compliance requirement. 3D printing makes it economical to have purpose-built gauges rather than relying solely on general-purpose measurement tools.
End-of-arm tooling. Custom grippers and part-handling tools for robotic arms. When a robot cell goes down because of a broken gripper, 3D-printed EOAT can be designed and produced in 2-3 days versus 3-4 weeks for machined alternatives. For multi-product lines requiring tool changeovers, 3D printing makes it practical to have dedicated EOAT for each product configuration, eliminating changeover time entirely.
Cable routing fixtures. Often the simplest and most impactful per dollar spent. A $30 cable routing guide that saves 15 minutes per assembly pays for itself on day one. Charlotte manufacturers building wiring harnesses and control panels see some of the fastest ROI from these straightforward fixtures.
Masking fixtures. Hold parts in position during painting, coating, or selective plating operations. These are often treated as disposable tooling, cheap enough to replace when paint builds up or the part design changes.
The Charlotte and Lake Norman Manufacturing Corridor
The I-77 corridor from Charlotte, NC through Mooresville and Statesville is one of the most concentrated manufacturing regions in the Southeast. Automotive suppliers, aerospace manufacturers, electronics assemblers, and fabrication shops operate within a 30-mile stretch.
For these operations, a local 3D printing partner means:
- No shipping delays for fixture orders or replacements
- In-person consultations to evaluate production line needs on-site
- Same-day reprints when a fixture is damaged or needs modification
- Standing orders for consumable tooling like masking fixtures and sacrificial work-holding
Several Lake Norman, NC manufacturers have integrated 3D-printed tooling into their standard procedures, with monthly fixture budgets that are a fraction of what they previously spent on machined tooling.
When Machined Tooling Is Still Better
3D-printed tooling isn’t right for every application. Machined fixtures are still preferred when:
- Temperatures exceed 150 degrees Celsius sustained
- Tolerances must be below +/-0.05mm for precision gauging
- Surface hardness matters for very high-cycle operations (100,000+ uses)
- Chemical exposure is severe (concentrated solvents, strong acids)
- The fixture is a permanent investment expected to last 10+ years without modification
For everything else (the majority of fixtures on most production floors), 3D printing delivers comparable performance at a fraction of the cost.
Getting Started
Most manufacturers begin with a single pain point:
- Identify your highest-cost quality issue or longest changeover time.
- Request a consultation and we’ll evaluate the opportunity.
- Start with a pilot fixture. Prove the concept on one workstation.
- Measure the results. Track defect rates, cycle times, and changeover times.
- Scale what works. Expand based on proven ROI.
For Charlotte and Lake Norman, NC manufacturers, we offer on-site evaluations and local delivery to identify the highest-impact opportunities. From there, explore how small-batch production and rapid prototyping can support your broader manufacturing needs.
Related Articles
3D Printing Tolerances: What to Expect
Understanding dimensional tolerances in FDM 3D printing helps set realistic expectations for your parts.

Batch Size Economics: The 3D Printing Advantage
Learn why 3D printing dominates at 10-500 units and how to calculate your optimal production method.
Tooling Changeover Costs Kill Profits
Traditional tooling changes drain budgets. See how FDM printing slashes modification costs by 90%.