No CAD File? Our Design Services Help

One of the biggest misconceptions about 3D printing is that you need a finished CAD file to get started. You don’t. Some of the best projects we’ve worked on at CLT 3D Printing began with nothing more than a rough sketch, a broken part, or a verbal description of what someone needed.
If you’ve been sitting on a product idea or a replacement part need because you don’t have engineering software skills, this post is for you. Here’s exactly how the process works when you come to us with an idea instead of a file.

Step 1: Tell Us What You Need
Every project starts with a conversation. You don’t need technical language or precise specifications. Just describe the problem you’re trying to solve. We’ve kicked off projects based on:
- Napkin sketches with rough dimensions and arrows pointing to features
- Photos of existing parts that need to be replicated or modified
- Verbal descriptions like “I need a bracket that holds this sensor at a 30-degree angle”
- Physical samples of broken or worn-out parts that need replacement
- Screenshots from websites of products that are close but not quite right
The more context you give us about how the part will be used, what it connects to, and what forces it handles, the better the final design will be.
Step 2: Design and DFM Review
Once we understand what you need, our team creates a 3D model using professional CAD software. This is where custom design services really add value. We don’t just draw what you described. We design for manufacturability:
- Wall thicknesses optimized for the printing process and material
- Tolerances that account for mating components and real-world use
- Features designed to print successfully without excessive supports
- Material selection built into the design from the start
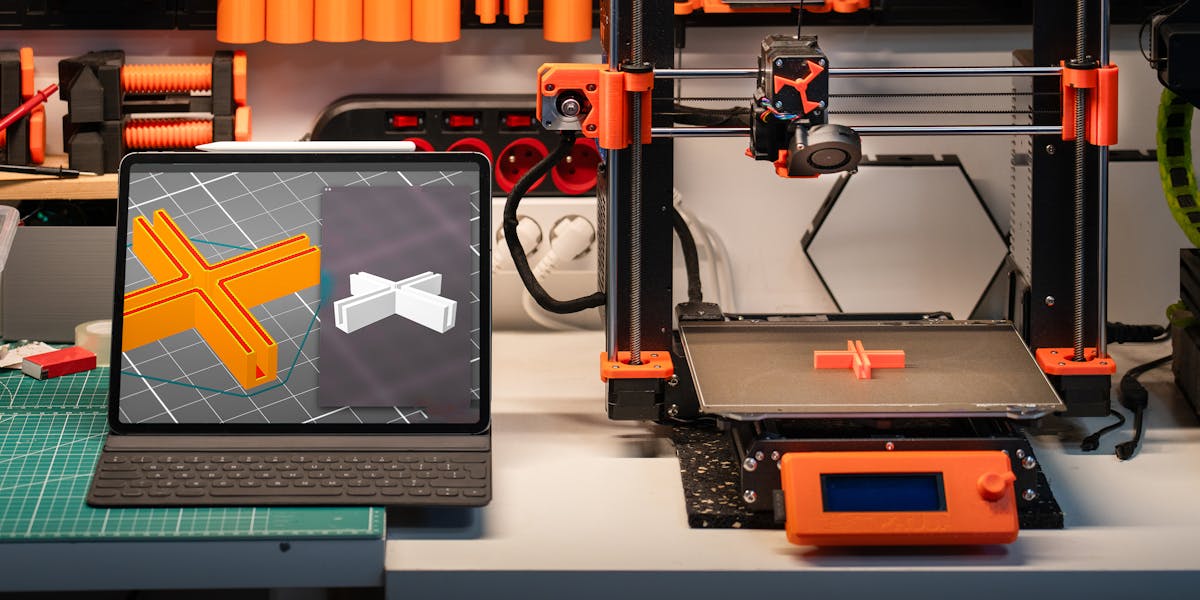
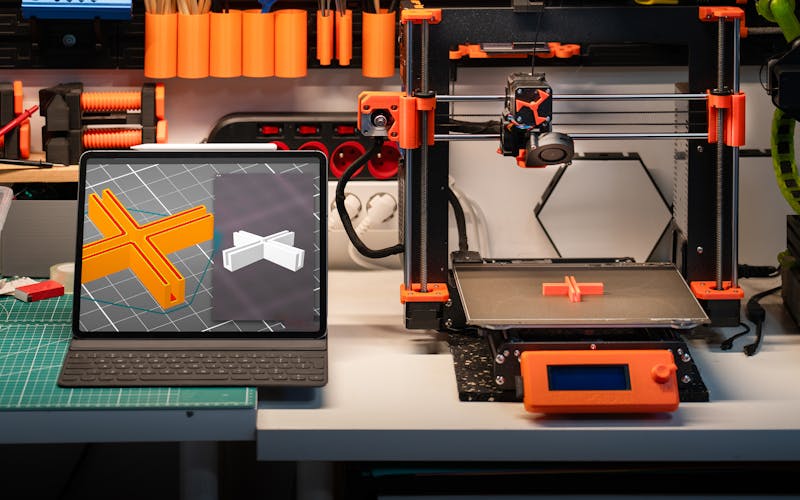
We share the model with you for review before printing. You don’t need CAD software. We send rendered images from multiple angles and dimensional callouts for critical features.
Design for manufacturing (DFM) review is one of the most overlooked steps in product development. A part that looks great on screen might be unprintable, or it might fail in use because walls are too thin or snap features are oriented wrong. For parts that might eventually transition to injection molding, we design with that future method in mind so you’re not starting over when you scale up.
Step 3: Prototype and Iterate
With the design approved, we print your first prototype. Almost every project needs at least one round of revisions, and that’s the process working as intended. Common changes include:
- Adjusting clearances for a tighter or looser fit
- Modifying grip surfaces or ergonomic features
- Adding mounting points or cable routing features
- Changing material after handling the prototype
Because design changes cost nothing in tooling, iteration is cheap and fast. Most revision cycles take 2-3 days through our rapid prototyping workflow.
The Reverse Engineering Workflow
Sometimes you don’t have an idea. You have a part. Maybe it’s discontinued, broken, or from equipment that’s been out of production for years. Our reverse engineering process works like this:
- Measurement and documentation: We measure every dimension, curve, and feature using calipers and gauges.
- 3D modeling: We build a CAD model matching the original geometry.
- Material matching: We select a material that approximates the original’s properties.
- Test fit and validation: We print a prototype, test it in the actual assembly, and refine as needed.
Who Needs Design Services?
The majority of our design clients fall into categories that might surprise you:
Small Business Owners
A Charlotte, NC bakery needed custom display stands for their farmers market booth. A local pet supply company wanted branded treat dispensers. A Lake Norman, NC boat dock company needed custom cleats for an unusual rail system. None of these clients had CAD experience, and none needed it.
Maintenance and Facilities Teams
When equipment breaks and the replacement part is discontinued, 3D printing is increasingly the solution. We’ve reverse-engineered parts for HVAC systems, commercial kitchen equipment, and industrial machinery for Charlotte, NC area businesses whose equipment outlasted the manufacturer’s parts catalog.
One memorable project involved a Charlotte HVAC contractor whose client had a commercial unit with a discontinued plastic mounting bracket. The OEM wanted $3,800 for a complete assembly replacement. We reverse-engineered and printed the bracket in ABS for under $40. The fix took two days instead of the six weeks the OEM quoted.
Inventors and Hobbyists
Charlotte, North Carolina has a thriving maker community. We regularly work with people developing everything from kitchen gadgets to specialized tools. These clients have clear ideas about what they want but no way to translate that into a printable file.
Classic Car Enthusiasts
Lake Norman, NC’s car culture means owners frequently need parts that don’t exist anymore. Trim pieces, knobs, brackets, and bezels are all common requests. Our automotive and classic car restoration work almost always starts with a broken original and ends with a precision replacement.
What Does Design Service Cost?
Design costs depend on complexity:
- Simple parts (brackets, covers, spacers): $50-$150
- Medium complexity (enclosures, multi-part assemblies): $150-$400
- Complex parts (mechanisms, detailed aesthetic features): $400+
These cover CAD design, DFM review, and one revision round. Additional revisions are typically $25-$75 each.
Getting Started Without a CAD File
- Gather what you have. Sketches, photos, measurements, broken parts, anything that describes what you need.
- Submit a quote request with your description and reference materials.
- We’ll schedule a consultation. In person for Charlotte and Lake Norman, NC clients, or by phone.
- Review the design and approve. We handle the CAD work and send visuals before printing.
- Receive your parts. Prototype first, then production quantities once finalized.
You don’t need to be an engineer. You don’t need software. You just need an idea and a willingness to collaborate. We’ll handle the rest.