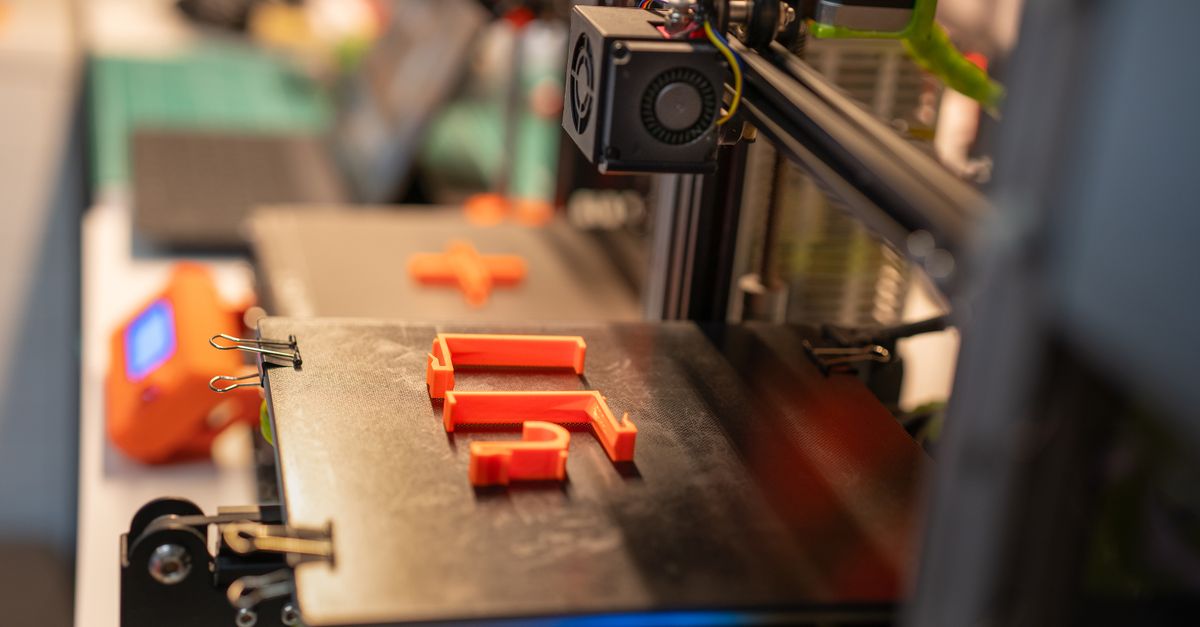
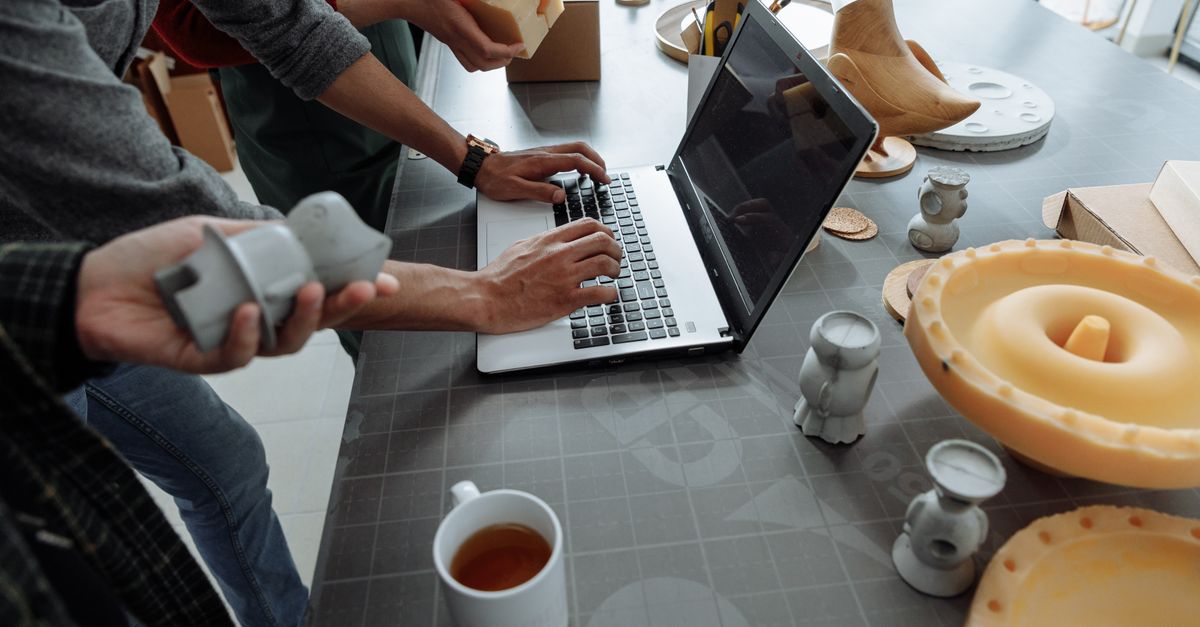
Photo by Jakub Zerdzicki on Pexels
3D Printed Trade Show Displays and Booth Parts

Most trade show booths are built from the same catalog parts: pop-up banners, modular truss, rented furniture, and a vinyl graphic. They work, but they look like everyone else’s booth. 3D printed trade show displays offer a different path. FDM printing lets a company produce custom product risers, dimensional logos, branded fixtures, and demo-ready product models without paying for tooling or waiting weeks on a fabrication shop.
This post covers what is realistic to print for an exhibit, which materials survive the trip to the show floor, and how to design pieces that ship easily and set up fast.
What Booth Parts Can You Actually 3D Print?
The best candidates share a few traits: they are custom, low quantity, and visually important. Here are the categories where FDM printing makes the most sense.
Dimensional logos and lettering. Raised logos, wall-mounted lettering, and sculpted brand marks are a natural fit. A printed logo can have depth, layered color, and sharp edges that flat vinyl cannot match. Multi-color designs can be printed in separate sections and assembled, or painted after finishing.
Product display risers and stands. Tiered risers, angled product holders, and branded pedestals are simple geometry that prints well. Because each stand can be designed around the exact product it holds, you avoid the generic acrylic stand that never quite fits.
Product models and demo pieces. If your real product is expensive, fragile, or still in development, printed models give attendees something to pick up and handle. This is where rapid prototyping overlaps with marketing: the same files used to validate a design can become show pieces.
Cable management and hardware fixtures. Monitor mounts, tablet holders, cable guides, and brochure holders are small details that make a booth look intentional. They are also easy to print in batches.
Giveaways and leave-behinds. Small branded items, such as desk accessories, keychains, or mini replicas, can be produced in volume through small-batch production. For higher-value recognition pieces, see our overview of custom 3D printed corporate awards.
Which Materials Hold Up for Exhibit Use?
Exhibit pieces face conditions that normal office items do not: long trips in trailers or vans, repeated assembly and teardown, and plenty of handling by curious visitors. Material choice matters.
PLA for Indoor Display Pieces
PLA is one of our daily-driver materials and works well for static display items like logos, signage, and risers. It prints with crisp detail, holds sharp edges, and comes in a wide range of colors. The catch is heat. PLA starts to soften at roughly 55 to 60 C, and the inside of a parked truck or trailer in summer can exceed that. If your exhibit parts will ride in an unconditioned vehicle during warm months, PLA can warp. For more on its properties, read our PLA guide.
PETG for Handled and Shipped Parts
PETG is our usual recommendation for anything that will be touched, shipped, or assembled repeatedly. It has better impact resistance than PLA, handles heat better (its glass transition is around 80 C), and tolerates flexing without snapping as readily. Stands, holders, and brackets that get set up at every show are good PETG candidates. Details are in our PETG guide.
ABS and ASA for Special Cases
For outdoor exhibits, vehicle-mounted displays, or pieces exposed to sun, ASA offers UV resistance, and ABS offers higher heat tolerance. We run ABS jobs periodically and can print ASA as a capability, though neither is our everyday material. If your use case needs them, it is worth discussing early. See the ASA guide and the ABS guide for the tradeoffs.
A note on fire codes. Some venues and show organizers have flammability requirements for exhibit materials, especially for large structures or hanging elements. PLA and PETG are not inherently flame retardant. Check your show’s exhibitor manual before committing to large printed structures, and ask the organizer if a printed material needs documentation.
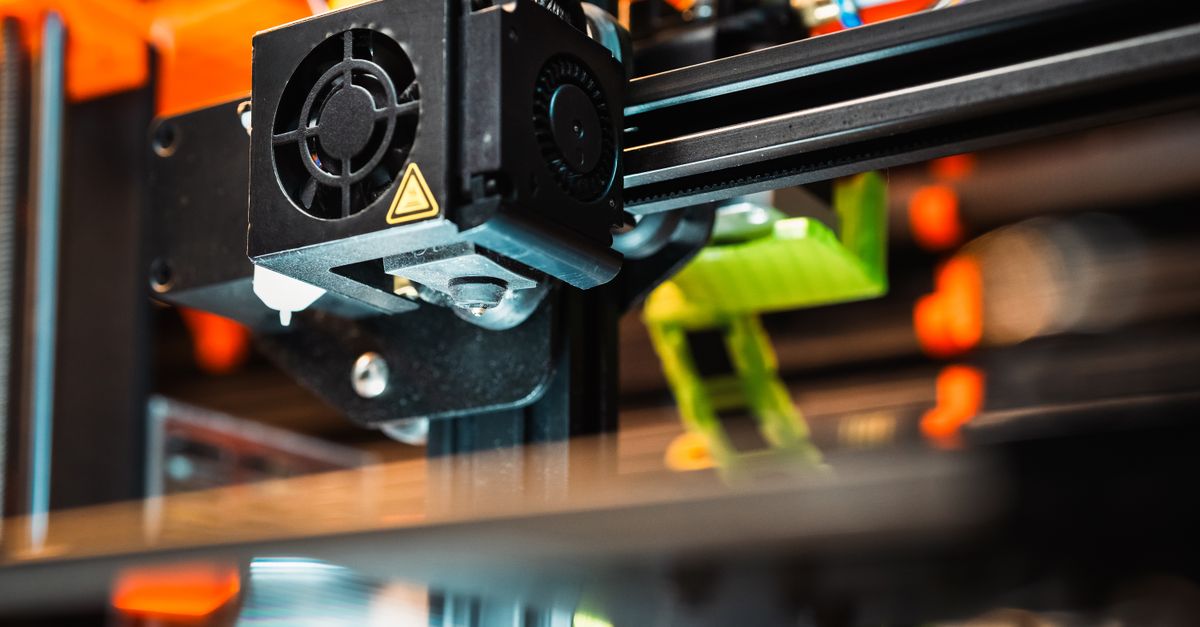
Photo by Jakub Zerdzicki on Pexels
How Do You Design Booth Parts for Shipping and Setup?
Good exhibit design is as much about logistics as appearance. A beautiful piece that takes 40 minutes to assemble in a crowded hall is a liability.
Split large pieces on purpose. FDM printers have finite build volumes, and big logos or wall elements will need to be printed in sections anyway. Rather than treating that as a limitation, design the seams deliberately. Hide joints along natural edges, add alignment pins or keys, and plan for adhesive or mechanical fasteners. Our guide to splitting large parts for FDM printing covers joint styles and tolerances in detail.
Use tool-free connections where possible. Snap fits, slot-and-tab joints, and friction-fit pegs speed up setup and reduce the number of loose parts. A well-designed snap fit in PETG can survive many assembly cycles, though you should test the cycle count your show schedule demands.
Print light. Display pieces rarely need structural strength. Lower infill, often 10 to 15 percent, combined with sensible wall counts keeps weight down and reduces both print time and shipping cost. Load-bearing parts, like a monitor arm or a riser holding heavy equipment, are different. Those need more walls and higher infill, and our breakdown of infill versus walls explains where strength actually comes from.
Design for the case, not just the booth. Think about how parts nest in a shipping case. Stackable risers, nesting stands, and pieces that fit standard case dimensions save freight costs and protect your investment. A few extra design hours up front can eliminate a lot of foam cutting later.
Plan spares. Printed parts are inexpensive to duplicate. Ordering a few spare connectors, feet, and small hardware pieces is cheap insurance when something cracks on day one of a three-day show.
How Do You Get Brand-Accurate Color and Finish?
A booth is a brand statement, so color and surface quality matter more here than on a typical functional part.
Choose your approach early. There are two main routes: print in the final color, or print in a neutral color and paint. Printing in color is faster and cheaper, and it works well for logos where filament color is close to the brand palette. Painting gives you exact color matching, including Pantone-referenced paint, and hides layer lines.
Finishing sets the look. Raw FDM parts show layer lines, which can look fine on a technical product but not on a sleek booth. Sanding, filler primer, and paint produce a smooth, even surface. Our post on 3D print finishing standards lays out the levels of finish you can request, and post-processing 3D prints like a pro goes deeper on techniques.
Keep sets consistent. If you are printing a set of matching pieces, such as a row of identical stands, color consistency becomes important. Filament batches can vary slightly, so producing all matching parts from the same spool lot, or painting afterward, avoids visible mismatches. See color consistency in batch 3D printing for how to manage this.
What Does a Realistic Timeline Look Like?
Trade shows have immovable deadlines, which makes planning backward from the show date essential. Consider a business exhibiting at a regional show in eight weeks. A workable schedule might look like this:
- Weeks 8 to 7: Define the booth concept, list the parts to be printed, and gather any existing CAD or artwork.
- Weeks 7 to 6: Finalize designs. If you do not have CAD files, custom design services can turn sketches or logo artwork into printable models.
- Weeks 6 to 5: Print a test piece or two to check fit, scale, and color.
- Weeks 5 to 3: Run the full production set, including spares.
- Weeks 3 to 2: Finish, paint, and assemble a full dry run of the booth.
- Final two weeks: Buffer for reprints, shipping, and surprises.
That buffer matters. Print time is predictable, but finishing, paint cure time, and design revisions are where schedules slip. For a deeper look at what moves a timeline, read what drives 3D printing lead times.
What Mistakes Should You Avoid?
Waiting until the last two weeks. Rush work is possible, but it limits finishing options and leaves no room for reprints.
Skipping the dry run. Assemble everything before it ships. Fit problems are easy to fix in the shop and miserable to fix on the show floor.
Ignoring heat during transport. As noted above, PLA in a hot vehicle can deform. Choose PETG, or ship the parts in a climate-controlled way.
Over-engineering display pieces. Not every part needs to be structural. Save strength for the pieces that bear loads and print the rest light.
Forgetting the paperwork. If you need to specify materials for show organizers or insurers, have your material information ready before the show.
Ready to Build Your Booth Parts?
Whether you need a single dimensional logo or a full set of branded stands and fixtures, we can help you plan, design, and print them. We serve businesses across the Charlotte area and ship nationwide, so your exhibit parts can arrive wherever your show is. Send us your concept, artwork, or CAD files, along with your show date, and we will help you pick materials and a schedule that fits. Start your project at /custom-order.
Related Reading
Related Articles
3D Printed Molds and Casting Patterns
3D printed molds and casting patterns let you make silicone, urethane, and thermoformed parts without steel tooling. Here is what works and what does not.
3D Printed Shop Floor Organizers for 5S
3D printed shop floor organizers turn 5S from a poster into a system. See what to print, which materials hold up, and how to design for real use.
Embedding Magnets and Hardware in 3D Prints
Embedding magnets in 3D prints adds function and clean assembly. Learn pocket sizing, pause-and-insert steps, and design rules that work in FDM.