3D Printed Molds and Casting Patterns

Some parts do not need to be printed at all. They need to be cast, formed, or molded in a material that FDM cannot produce directly, such as soft silicone, rigid urethane, concrete, or thin-gauge thermoformed plastic. That is where 3D printed molds and casting patterns earn their place. Instead of waiting weeks and paying for machined aluminum or steel tooling, you print the mold or the master pattern in a day or two and use it to make the final parts in the material you actually need.
This post covers where printed molds work well, where they fall short, and how to design them so the first pour or pull goes right.
What Are 3D Printed Molds and Patterns Actually Used For?
There are two related but different ideas, and mixing them up leads to bad design decisions.
A printed pattern (or master) is the positive shape. You print the part you want to reproduce, finish it, and then build a silicone mold around it. Once the silicone cures, you remove the pattern and cast your final parts into the silicone cavity. The printed part is used once or a few times, and the silicone mold does the repeat work.
A printed mold is the negative shape. You print the cavity directly and pour or form material into it. This skips the silicone step, which saves time, but the printed surface and the printed material now directly touch your final part.
Common applications for both approaches include:
- Urethane and epoxy resin casting for low-volume rigid or semi-flexible parts
- Silicone casting for gaskets, grips, seals, and soft-touch covers
- Concrete and plaster forms for architectural accents, planters, and custom tiles
- Vacuum forming and thermoforming molds for trays, covers, and packaging inserts
- Composite layup tools and forms for fiberglass or carbon fiber hand layup
- Wax or sand casting patterns for foundry work
If you are weighing this against traditional tooling, our article on 3D printing vs injection molding for small batches covers when direct printing or conventional molds make more sense than either of these hybrid paths.
Why Use a Printed Mold Instead of Machined Tooling?
The case comes down to time, cost, and flexibility at low volumes.
Speed to first part. A printed mold or pattern can be designed, printed, and ready to use in days. A machined aluminum mold typically involves quoting, programming, machining, and finishing, which commonly runs weeks.
Cost at low quantities. Machined tooling carries a significant upfront cost that only makes sense when spread over thousands of parts. For runs of 5, 25, or 100 pieces, a printed pattern plus a silicone mold is often far cheaper per part, even after accounting for casting labor.
Cheap iteration. If the first casting shows a problem, you reprint the pattern with a revision. Changing a machined mold means cutting metal, and that is slower and costlier. This is why printed tooling pairs naturally with rapid prototyping: you can validate the casting process and the design before committing to anything permanent.
Geometry freedom. Complex internal shapes, organic contours, and integrated features that would need multi-piece machined tooling can often be printed as a single master.
The tradeoff is surface quality and durability. Printed tooling will not match polished steel for finish or lifespan, and it should be treated as short-run and bridge tooling.
How Do You Get a Smooth Surface for Casting?
Every layer line on a pattern gets faithfully reproduced in the silicone, and then in your cast part. If you want a smooth final part, the pattern needs to be smooth first.
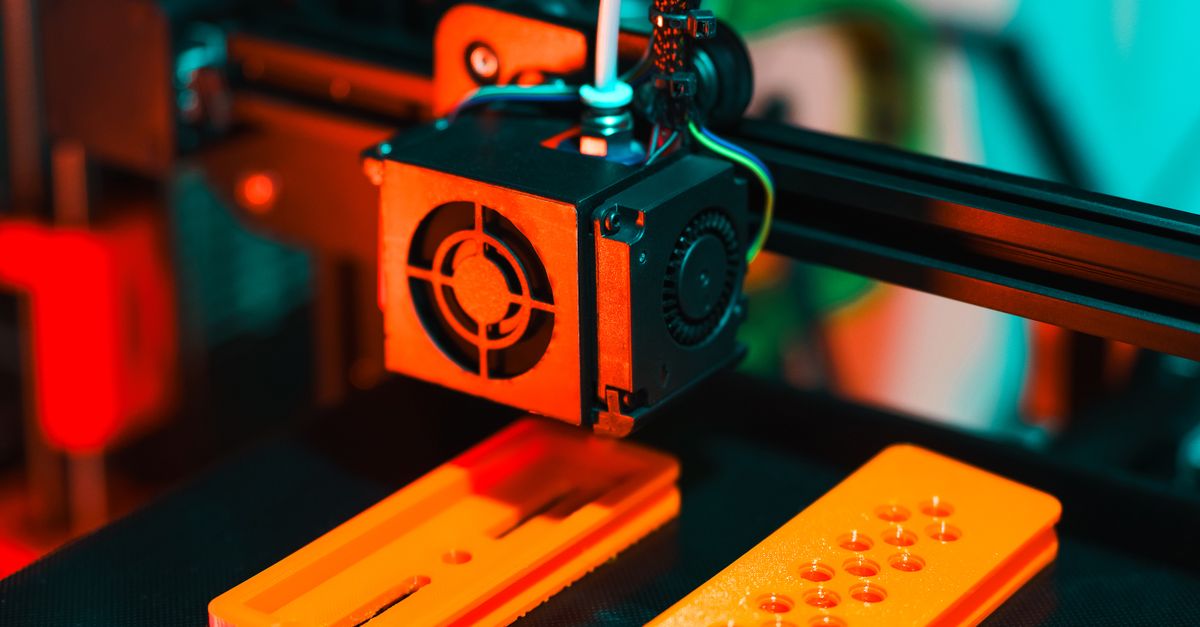
Photo by Jakub Zerdzicki on Pexels
Print at a fine layer height. For patterns where finish matters, layers in the 0.08 to 0.12 mm range reduce the amount of sanding needed. Coarser layers save print time but shift the work into finishing.
Sand progressively. Work through grits from roughly 120 up to 400 or higher, depending on the finish you want. Filler primer sprayed between sanding stages fills the remaining layer lines and shows you the spots you missed.
Seal the surface. Printed parts are slightly porous. A coat of high-build primer, clear coat, or a thin brush-on epoxy seals the surface so silicone or resin does not seep into it and so the pattern releases cleanly.
Apply release agent. Even on sealed surfaces, a mold release suited to your casting material helps parts come out without damage. Always test compatibility on a scrap piece first, because some silicones can be inhibited by certain coatings or materials, and the only way to know for your specific combination is a small test.
The same finishing techniques covered in post-processing 3D prints like a pro and our 3D print finishing standards apply directly here. Patterns are one of the places where finishing effort pays off most visibly.
What Design Rules Matter for Molds and Patterns?
Casting has its own design rules that differ from standard FDM guidance. The general print-side rules in our design rules that save money on 3D prints still apply, but add these on top.
Draft Angles
Add draft to vertical walls. A draft angle of 1 to 3 degrees on faces parallel to the pull direction helps parts release from rigid molds. Silicone molds are forgiving because they flex, but rigid printed molds are not, and a zero-draft wall can trap your casting.
Parting Lines and Mold Splits
Plan where the mold separates. Decide early where the parting line falls, and avoid undercuts that cross it unless you are using a flexible silicone mold that can stretch around them. For rigid two-part printed molds, include alignment features such as pins and sockets so the halves register accurately every time.
Pour Gates and Vents
Design the fill path. A casting mold needs a place to pour in and a place for air to escape. A small vent at the highest point of each cavity reduces trapped bubbles. Slightly angled fill channels help material flow rather than splash.
Wall Thickness and Rigidity
Give silicone mold boxes enough support. When casting a silicone mold around a pattern, the containment box can also be printed. Make the walls thick enough to resist bulging under the weight of liquid silicone, and seal the seams with hot glue or clay to prevent leaks.
Large Molds
If the mold exceeds the build volume of your printer, it can be split into sections and bonded. Our guide to splitting large parts for FDM printing explains how to place joints so they do not show up in the casting.
Which Materials Work Best for Printed Molds?
Material choice depends on what you are casting and whether heat is involved. We run PLA and PETG daily, and ABS periodically, and these cover most mold and pattern needs.
PLA for patterns and room-temperature casting. PLA prints with excellent detail and sands well, which makes it a strong choice for masters that will be coated in silicone. Its low glass transition temperature (around 55 to 60 C) means it should not be used where exotherm or heat from the casting material could soften it.
PETG for tougher molds. PETG handles somewhat higher temperatures and resists chipping better than PLA. It is a good option for direct-pour molds for gypsum, concrete, and many resins. The tradeoff is that it can be slightly harder to sand to a perfect finish.
ABS for higher heat exposure. ABS tolerates more heat, and it can be vapor smoothed or sanded and filled. It is a candidate when cast materials generate noticeable heat while curing. For a closer look at these tradeoffs, see our PLA vs PETG vs ABS comparison.
Other materials such as ASA, nylon, and carbon fiber composites are within our capabilities when a project calls for them, but for most casting patterns the standard filaments are the practical choice.
A note on exotherm. Some casting resins and urethanes heat up as they cure, especially in thick sections. Large pours can exceed what a PLA mold can handle. If you are unsure, pour a small test volume, or choose a more heat-tolerant material or a silicone intermediate mold.
Can You Use Printed Molds for Vacuum Forming?
Yes, with realistic expectations. Vacuum forming a thin sheet of styrene or PETG over a printed form is a well-established way to make low-volume trays, covers, and product housings. Keep these points in mind:
- Use high infill or solid walls. The mold has to withstand vacuum pressure without collapsing, so dense internal structure matters.
- Add vent holes. Small holes, typically around 0.5 mm, in the low points of the form let air evacuate so the sheet draws tightly against the surface.
- Mind the heat. Heated sheet contacting a PLA form can soften it. Short runs, cooling time between pulls, and using more heat-tolerant materials all help.
- Include draft. Formed parts need draft just like cast parts to release from the form.
Printed forms are a good fit for prototypes, pilot runs, and short production runs. If the project goes to thousands of units, it is time to look at machined or cast aluminum tooling.
When Should You Not Use a Printed Mold?
Honest limits make for better decisions.
- High-volume production. Printed molds wear and degrade. They are for tens or low hundreds of pulls in most cases, not thousands.
- Tight cosmetic tolerance. Printed surfaces need finishing, and dimensional accuracy is governed by FDM tolerances. See 3D printing tolerances: what to expect for realistic numbers.
- High-pressure injection molding. Printed plastic cannot withstand typical injection pressures and temperatures. Printed inserts have niche uses, but they are not a general replacement for steel or aluminum.
- Food contact and regulated applications. Printed molds and some release agents and silicones are not automatically suitable for food-contact or medical use. Those applications need material and process review before anyone relies on them.
How a Mold Project Typically Flows
A practical workflow looks like this:
- Define the cast part, the casting material, and how many pieces you need.
- Design the pattern or mold with draft, parting lines, gates, and vents.
- Print in a suitable material at a layer height that matches your finish target.
- Sand, fill, prime, and seal the surface.
- Make a silicone mold from the pattern, or pour directly into the printed mold.
- Cast a test part and inspect it for bubbles, surface defects, and dimensional accuracy.
- Revise the pattern if needed, then move to the full run.
Each step is quick to repeat, which is the whole point. It turns tooling from a one-shot gamble into a process you can adjust.
Get Help With Your Mold or Pattern Project
If you have a casting, forming, or molding project and want a printed master or mold to get started, we can help. Our team can print your patterns in PLA or PETG, advise on design changes like draft and parting lines, and support custom design services if you need the geometry built from scratch. For ongoing needs, our manufacturing tooling and fixtures and small-batch production services cover related work.
Ready to talk through your project? Send us your files or a description of what you are trying to make at /custom-order and we will help you figure out the best path.
Related Reading
Related Articles
3D Printed Shop Floor Organizers for 5S
3D printed shop floor organizers turn 5S from a poster into a system. See what to print, which materials hold up, and how to design for real use.
Embedding Magnets and Hardware in 3D Prints
Embedding magnets in 3D prints adds function and clean assembly. Learn pocket sizing, pause-and-insert steps, and design rules that work in FDM.
ESD-Safe 3D Printed Parts for Electronics
ESD-safe 3D printing explained: why standard PLA and PETG generate static, what dissipative filaments do, and where printed parts fit in electronics work.